#1 Low Carb & Keto Diet App Since 2010
Track macros, calories, and access top Keto recipes.


prep time

12 h 15 min
cook time
20 min
ready time
12 h 35 min
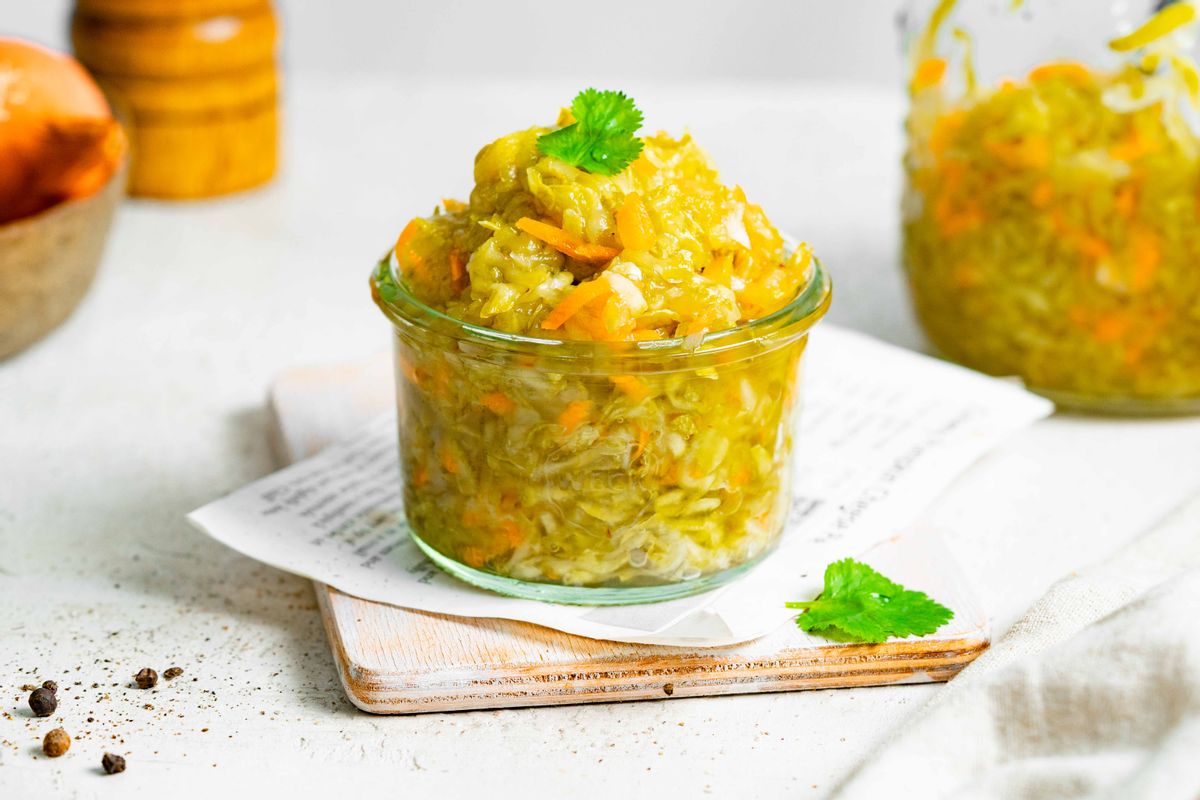
Keto Zucchini Relish
If you are looking for a healthy Keto condiment that is sugar-free and tastes delicious, then this Keto zucchini relish is perfect for you. The flavors in this Keto relish are just as great as any other regular relish and great for those on a Ketogenic diet. It requires simple ingredients, and minimal preparation and comes together in just a few minutes. This relish can be loaded onto Keto crackers to make a tasty snack, or used as a condiment for salads, low-carb sandwiches, and barbecues - the options are endless.
What should you serve this Keto zucchini relish with?
The best thing about relishes is that they are so versatile - and this healthy relish is no exception. This Keto zucchini relish goes well with any low-carb crackers, fritters, or even sandwiches and burgers. Not to mention, this Keto relish makes for a thoughtful homemade gift for friends and family.
How should you store your Keto relish?
To be able to enjoy this Keto relish fresh, be sure to store them in sterilized air-tight containers or jars. Once the relish is stored in the jars, store them in a cool, dry, dark cupboard. This should allow the Keto relish to last for about 6 months in the closed jars. Once opened, transfer the relish to the refrigerator and eat within a month.
Can you customize this Keto zucchini relish?
Yes. You can customize this Keto zucchini relish. For a chunkier Keto relish, instead of grating the zucchini, dice it into small cubes. Adding more vegetables to increase the nutrition profile of this Keto zucchini relish is also a great idea. A few options include diced red bell pepper or even red chili pepper for some extra heat. Other sweetener alternatives that work just as great in this recipe include stevia and monk fruit sweetener.
Net Carbs
0.6 g
Fiber
0.2 g
Total Carbs
0.8 g
Protein
0.2 g
Fats
0.1 g
5 cals
#1 Low Carb & Keto Diet App Since 2010
Track macros, calories, and access top Keto recipes.
Ingredients
Zucchini
3 medium
Carrots, raw
1 medium - 6" to 7" long
Onion
1 small
Celery
1 small - stalk - 5" long
Salt
2 tbsp
Erythritol Granulated
1 cup
Vinegar
0.33 cup
Garlic
2 clove
Mustard seed
1 tsp
Celery seed
1 tsp


Recipe Steps
steps 5
12 h 35 min
Step 1
Grate the zucchini, onion, and carrot and add them to a large pitcher. Finely dice the celery and add it to the zucchini and onion. You should have 1 liter/4 cups worth of veggies; if not, grate some more zucchini as needed.Step 2
Sprinkle the vegetables with the salt and stir gently to blend. Place a plate on top of the vegetables, then weigh the plate down with a large glass jar filled with water. Let sit overnight so the vegetables will release some of their moisture.Step 3
The next day, drain the vegetables in a sieve and rinse well. Add the erythritol, vinegar, garlic, mustard seeds, and celery seeds to a large pot. Cover and simmer gently for 5 minutes, stirring occasionally.Step 4
Add the drained veggies and bring to a boil. Reduce the heat and simmer covered for 10 minutes, stirring occasionally. Transfer the relish to a large sterilized jar using a ladle and canning funnel.Step 5
Wipe the jar's rim with a clean, damp cloth, then immediately put the lid on and tighten it with your fingers. Let cool completely on your countertop before opening the jar. Store in the fridge for up to 6 months.


